
We recently talked you through how to publish your app to Apple’s App Store. Usually, apps are optimised for both platforms, but since each app store has its own rules, we decided to make another guide on how to submit your Android app to Google Play.
We’ve been developing mobile apps for a while now, so we’ve come to know all the particularities of iOS versus Android, and we want to share that knowledge with you.
6 Steps to Follow to Upload Your App to Google Play
You already know what to do before publishing your mobile app – UX strategy, wireframes, development, testing – and testing again. After all that is done, it’s time to upload your app to Google Play and share it with your target audience. Below is a run-down of each of the 6 essential steps to follow in this process; you can jump to any section you’d like.
1. Create an Android Developer Account
To make sure your cool mobile app will be reached by thousands of users on Google Play, the first thing you need to do before submitting is to create a Google Play Developer account.
Note: to submit anything to Google Play, you have to pay a $25 one-time fee.
To set your Google Play account, all you have to do is:
- Go to https://play.google.com/apps/publish/signup/
- Login with your Google Account or create a new one
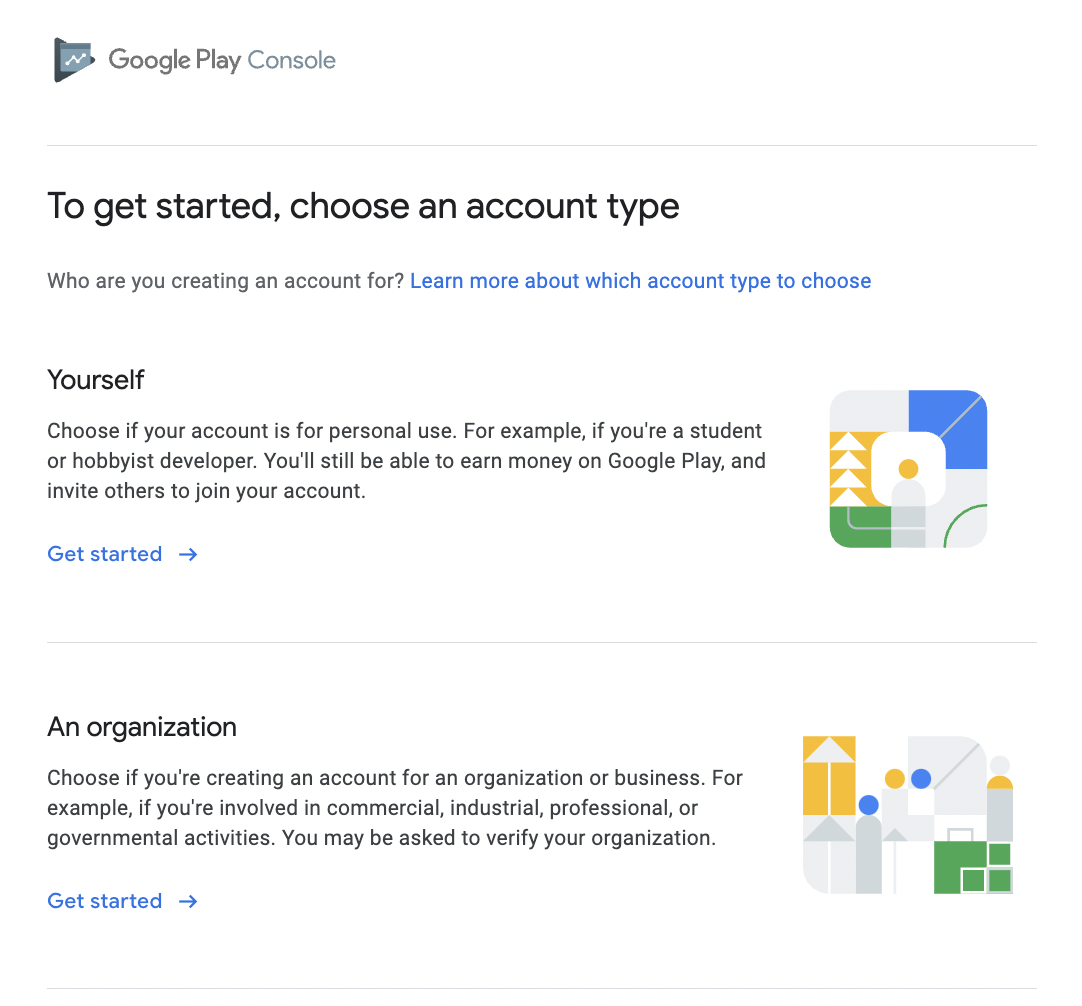
- Select to create a developer account for “An organization or business”
- Fill out the form with your organization information
- Agree with the Terms and click on “Create Account and Pay”
- Enter your payment information and pay for the account
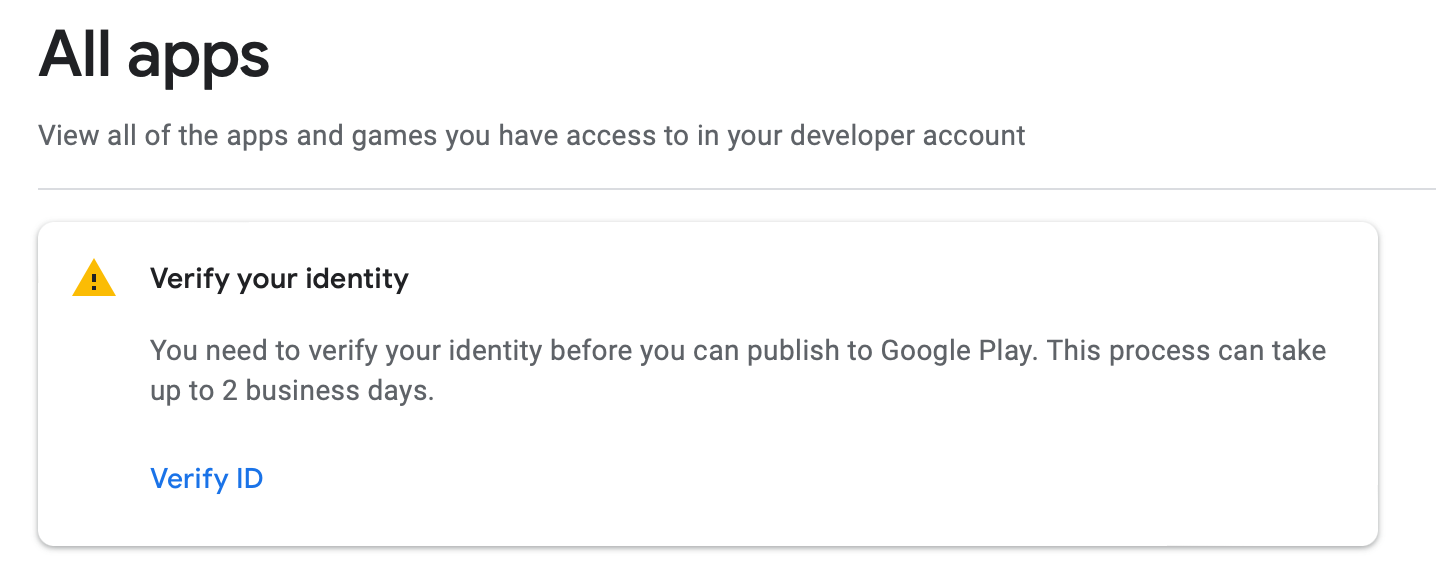
- After paying, you will need to “Verify your identity”, this may take up to 2 business days and you need to upload organization documents
2. Create a Payment Profile
In case you are planning to create a freemium or a paid app, all you have to do is to set up a profile in the Google payment center. This will be automatically linked to the Play Console. Here’s how it’s done:
- Go to your Google Developer Account
- Click Settings -> Payment Profile
- Click “Create payment profile”
- Enter the legal business name - this information will be on the receipts and be also shown to your customers
- Enter your business location - the official address that appears on your legal documents.
- Enter your Primary contact - the person Google will contact with any payment-related questions
- Add your business information(or match your public merchant profile):
- Enter your business website
- The category of your product
- Customer support email
- The business/product name that will appear on their statements
- Submit
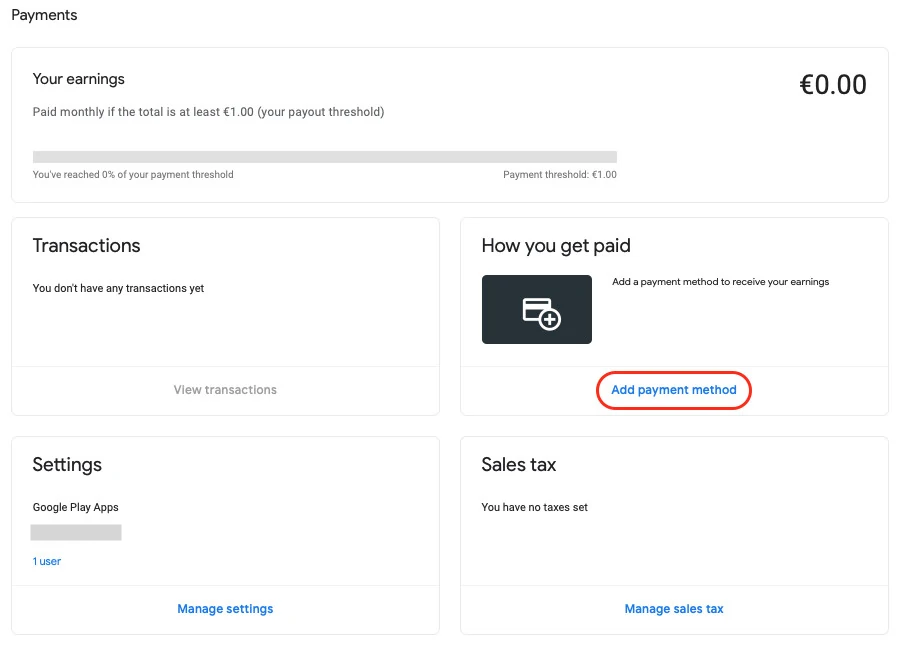
Then add a payment method:
- In Settings, Payment Profile, click “Add payment method”
- Add your bank account information. The back account location must be located in the same country as the Business Location from Payment profile
- Save
To verify your information was entered correct Google will deposit an amount of less that 1$ in your bank account within the next 3 business days:
- Go to Payment Profile
- Under “How you get paid” click “Choose payment method”
- Find the name of the payment method you want to verify and click Fix
- Select the amount that was deposited into your account the click “Verify”
Now it’s time to go to the next step – optimizing your app listing.
3. Create Your Android App
To go on with the app optimisation, all you need to do now is to create an app. Here’s how to do it:
- You go to the “All apps” tab in the menu
- Press “Create app”
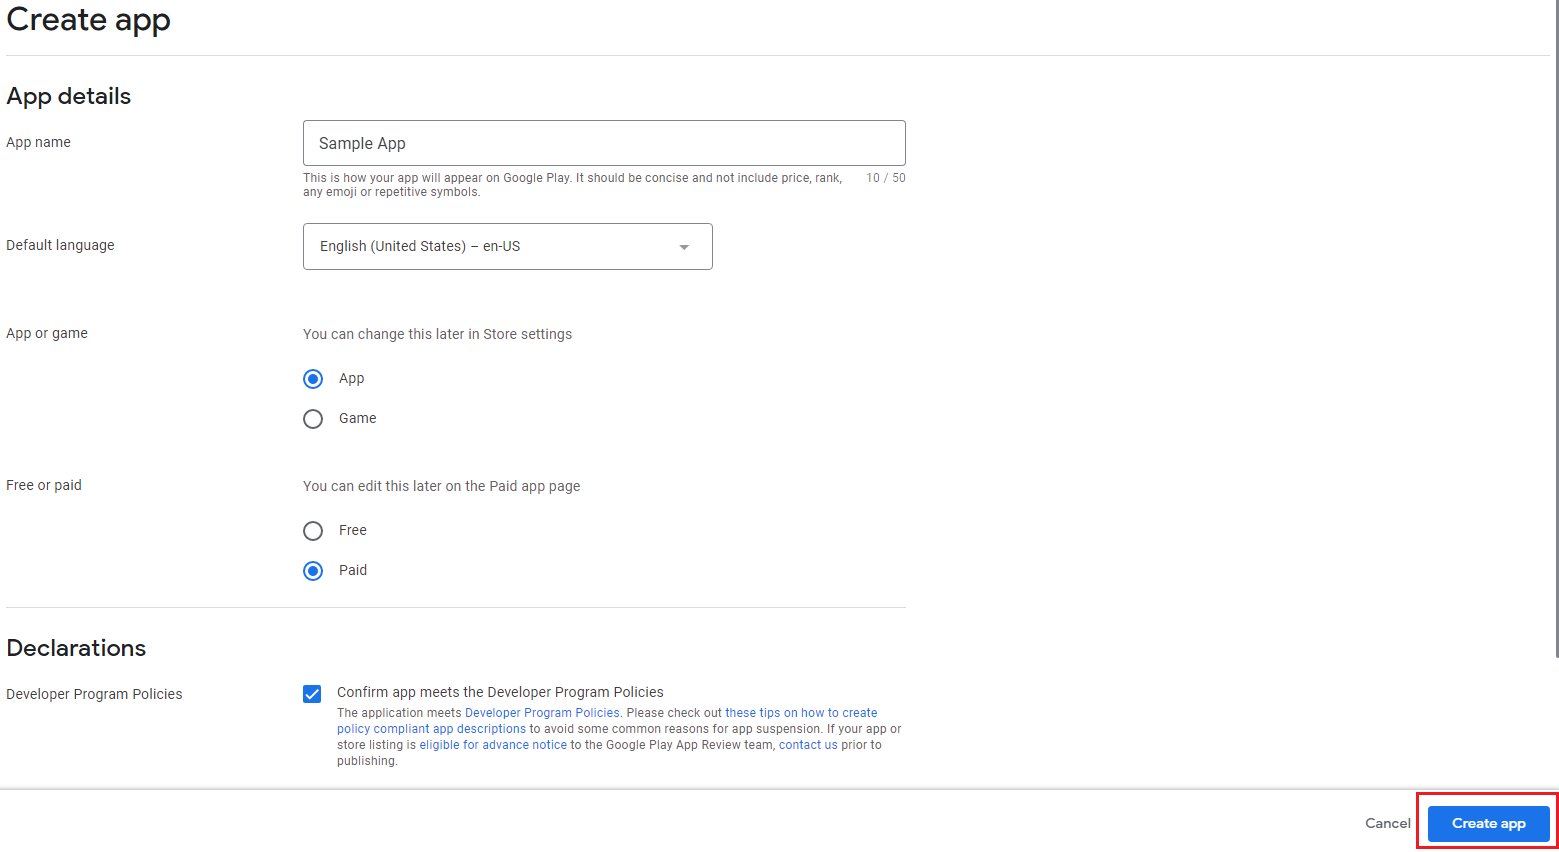
- Select the default language
- Type in a title – it will show on Google Play after you published it, but don’t worry. It can always be changed afterward.
- Specify whether the app is free or paid
- Add an email address
- Acknowledge and accept terms and policies from the “Declaration” section
- Click on “Create app”
4. Set up your app
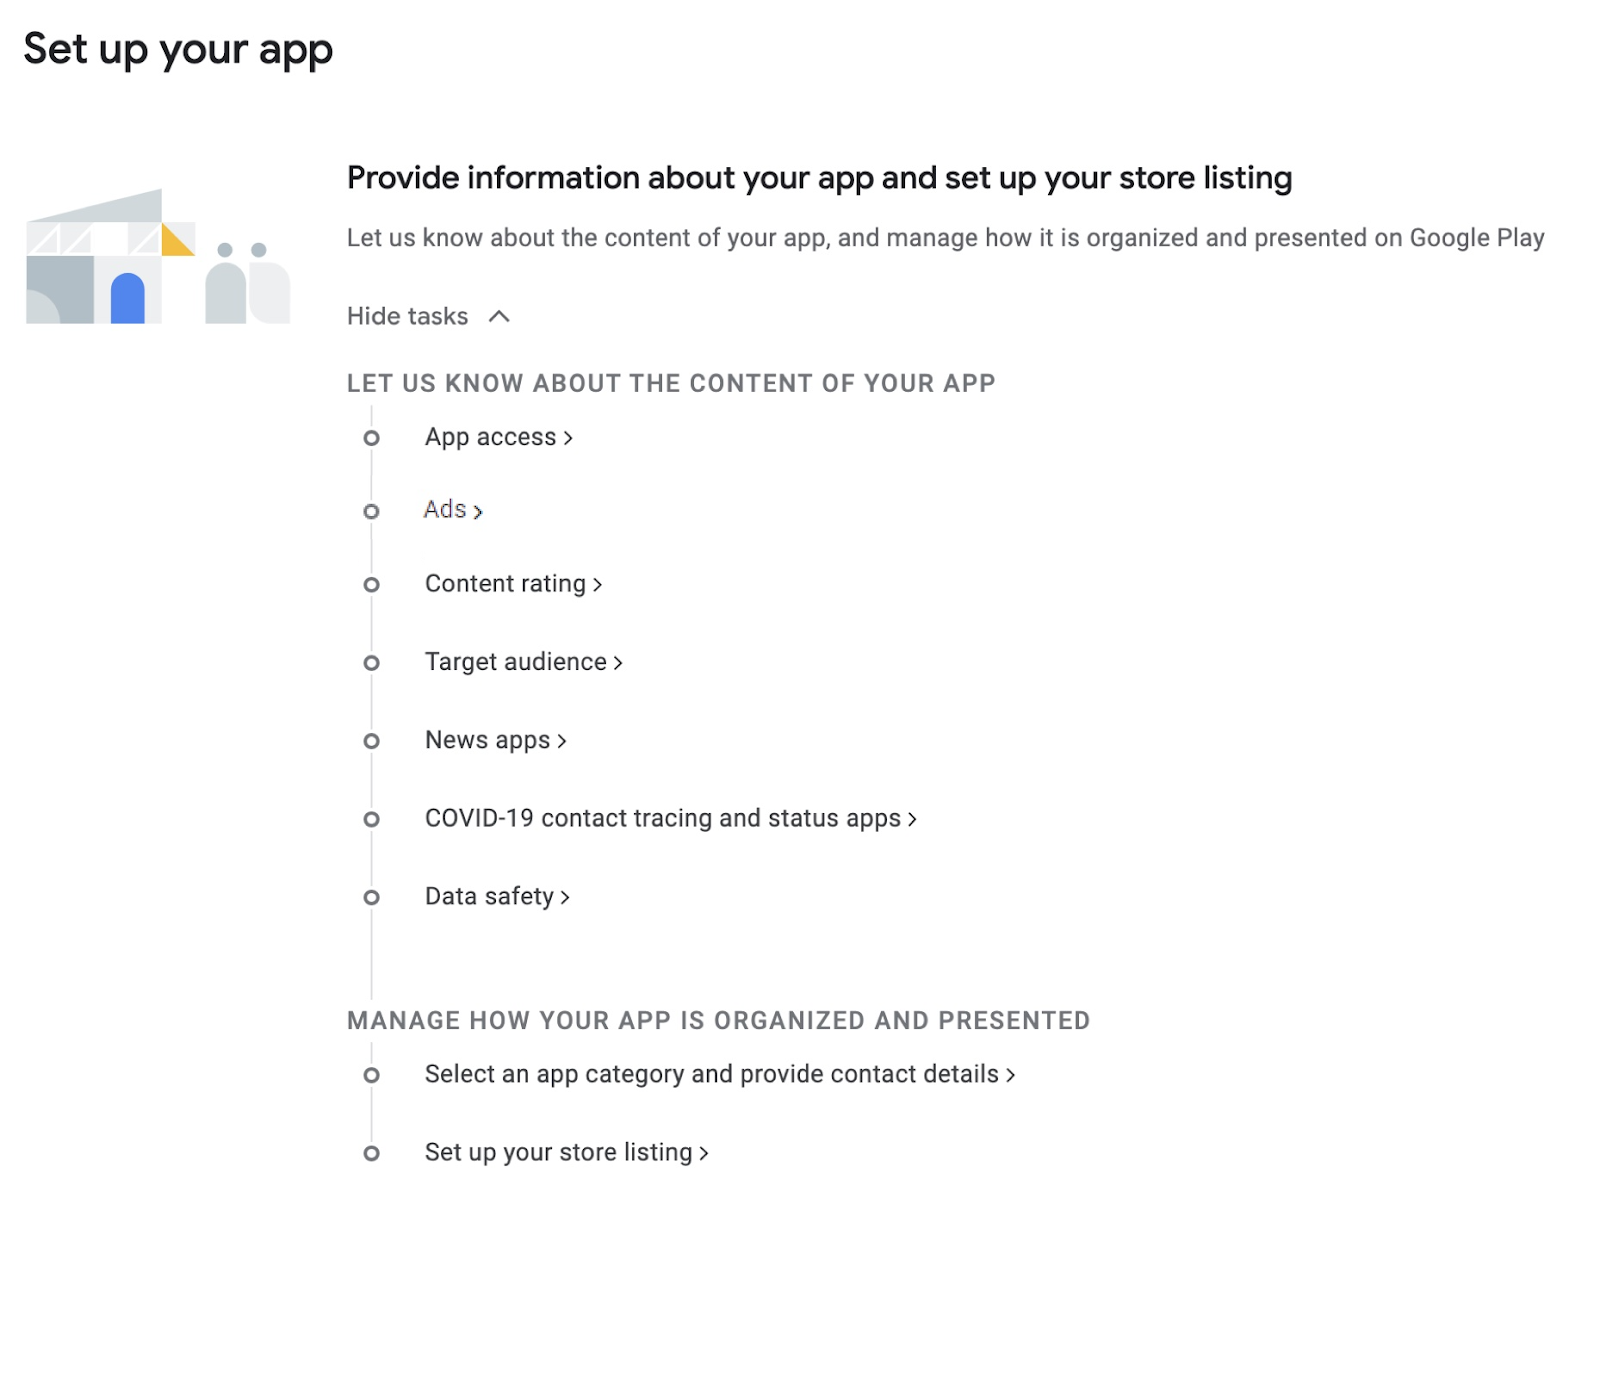
After you created the app, you will be taken to the set up page, where you will complete all the important steps to get your app available.These details will appear on Google Play and will be available for your potential customers:
- App access: if the app has any form of authentication, you have to provide the access details
- Ads: have to declare if the app contains advertisement or not
- Content rating: answer a series of questions about the content used in the ap to receive an IARC content rating for your app
- Target audience: answer a series of questions concerning the audience. Note that choosing anything under the age of 18 will result in additional restrictions in terms of allowed content
- News app: answers the questions about the app is a news app or not
- Data safety: provide the information about how the app collects and handles user data
- Select an app category and provide contact details: select category for your app and enter an email address that will be shown in app listing.
- Set up your store listing: Listing assets & graphics
Listing assets: title, short description, full description
- App name – the title of the application
- Short description – a description no longer than 80 characters. Think about it as your Unique Selling Proposition
- Full description – here you can write the full story behind your app, and you have 4000 characters available to do it.
Note: Make sure you write the description and the title while having the user in mind. Also, focus on using the right keywords for your app, but don’t overdo it. If your app comes across as spammy or promotional, you can risk getting suspended from the Play Store.
Graphics: Icon, Images
To convince users and to showcase your app’s features and functionalities, it is highly recommended to add graphics assets.
Some of them are mandatory, such as icons and screenshots of the app. Make sure your graphics are relevant to the app, since they will be shown on your store across all tracks.
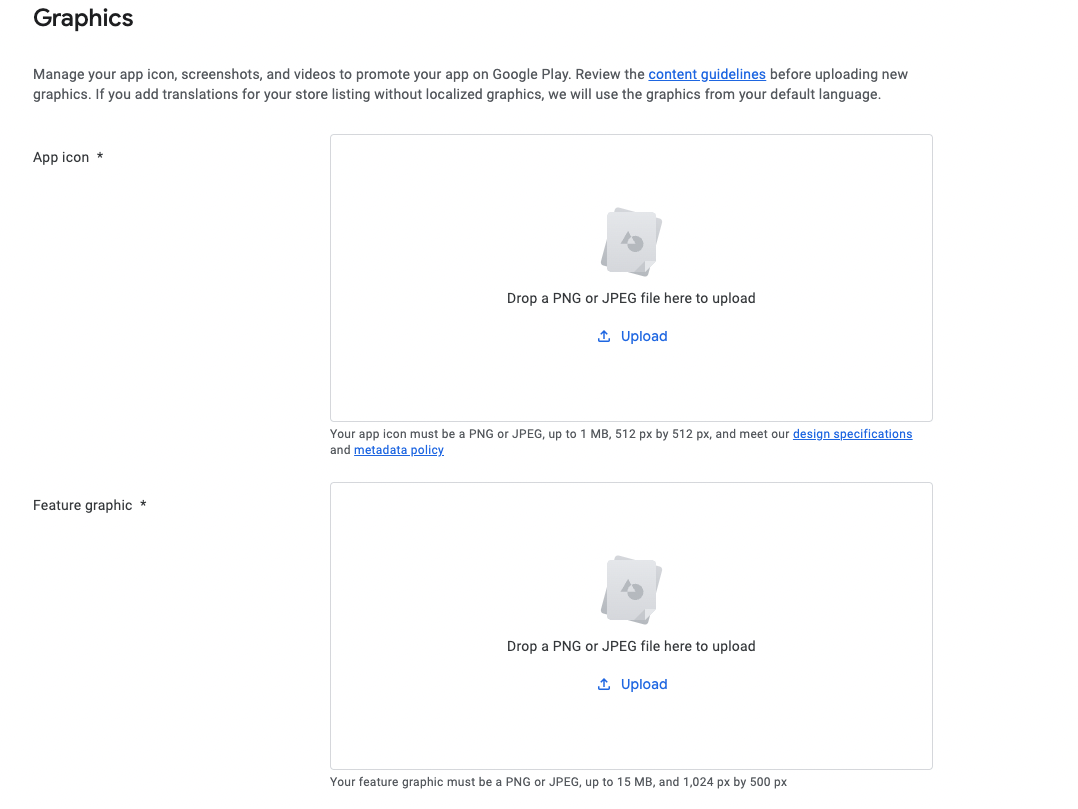
To find out more about the sizes of each image, check out this Play Console Q&A.
Privacy policy
If your app requests access to sensitive user data or permissions, you have to provide a comprehensive privacy policy. This has to show exactly how the app will collect, use, and share the data.
This item is not listed in the initial setup list, but you can find it in the left menu, under the “Policy” subcategory, on the “App content”.
It’s highly recommended to have the Privacy Policy active on your website so that you can add the URL to the store listing and within the app. Make sure the link is active and relevant.
Thinking of creating your own Android mobile app?
5. Create the Release File for Your Android App
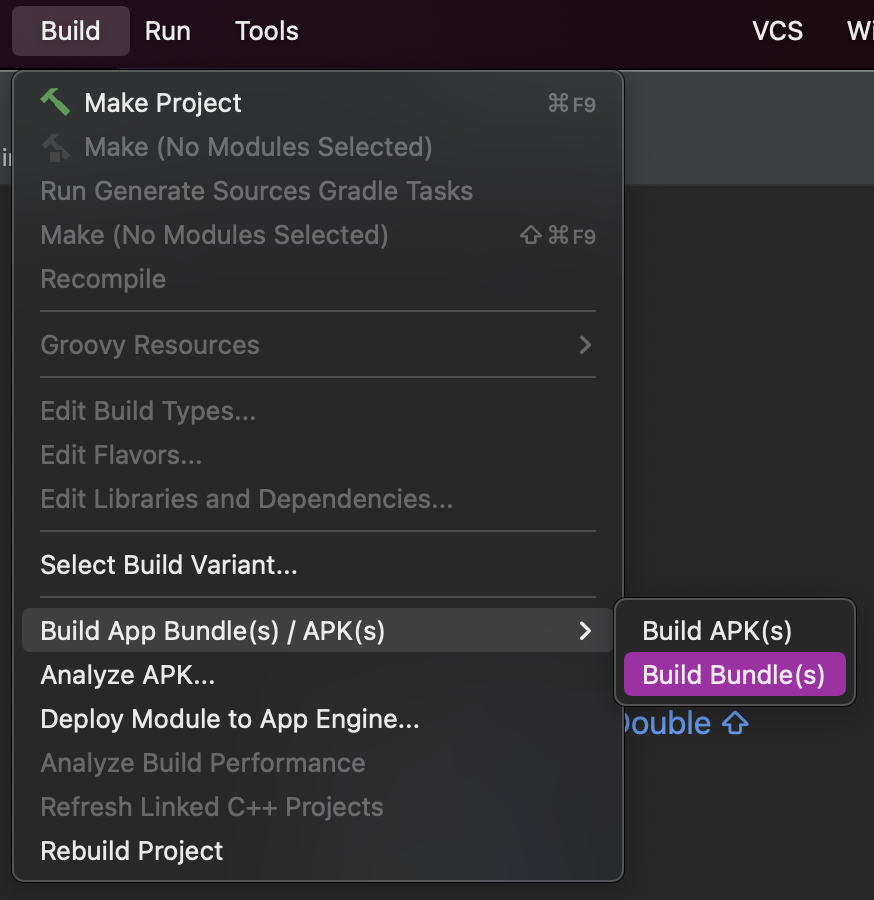
After you’re done with setting up the terrain for your app, you have reached the final step – the upload of your release file.Google uses Android App Bundles to generate and deliver APKs that are optimized for each device configuration, providing users with more efficient apps.
In order to reach them, you have to open Android Studio, go to Build -> Build Bundle(s) / APK(s) and choose Build Bundle(s).
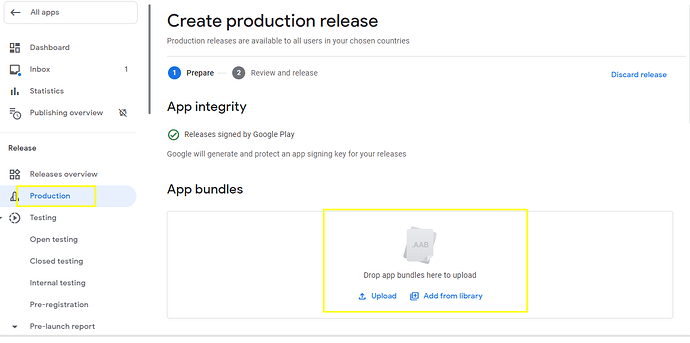
Now, to upload your product, you go to the Google Play Console to the app you have created before, then select the desired release option from the “Release” submenu from the left menu panel.
What’s great at this point is that you can choose several options for release, such as:
- Internal Testing – quick distribution of build to a small set of testers(up to 100 testers) without app review
- Closed Testing – for pre-release versions of app with your group of testers
- Open Testing – for gather quantitative and qualitative feedback on your app from a large number of testers
- Production release
As the name implies, the first two types of releases allow your app to be tested by a select number of users. However, the last two will become accessible to everyone in the countries you choose to share it, except the open testing comes with Pre-release warning and reviews are only visible to the developer.
6. Publish Your Android App!
When you pick an option, all you have to do is select the option from the Release menu from the left menu. Before uploading the build, select the “Countries/regions” tab and add the countries where you want to release your app. Make sure you choose them carefully, as these will be the countries where your users will come from.
Now you can hit “Create new release” and start preparing the release. Upload the Android App Bundle that you have created, add release notes to the version, and then hit save and review the release. Review the newly uploaded version of your app and use the “Start Rollout to Production” button to release the app into the Google Play store.
Now, the only thing you need to do is wait. Usually, it takes around 7 days for your app to be approved and released. In some cases, it can take a bit longer, so be patient.
Congratulations! Your app is now available on Google Play.
If you’re a mobile product owner or a startup founder, you know how important it is to have a reliable partner for your app development. Let’s get in touch and talk about your next mobile app!
Tapptitude
Tapptitude is a mobile app development company specialized in providing high-quality mobile app development services, and a top-rated app company on Clutch.


